Independent Stampin' Up! Demonstrator Chris Galbraith jgalbr@bellsouth.net Collierville, TN (Memphis area) 901-262-2576
Saturday, November 26, 2011
Tiny Teacup
I used one of the single stamps from the front of the SU catalog for this card called Tiny Teacup. I cut the hello away from the cup and just mount it on an acrylic block when needed. I used calypso coral, pool party, and wisteria wonder along with whisper white. I also used the dotted embossing folder with my Big Shot, a few circle punches, and a bit of white ribbon. Look closely on the middle teacup and you will see a butterfly from beautiful butterflies and a tiny pearl. The teacup circles are raised up on dimensionals. Simple!
Saturday, November 19, 2011
Aviary
I love this set and I love marina mist. Put them together and look what you get. I embossed the background with elegant bouquet. Then I stamped and cut out the bird cages, attaching them with dimensionals. I added a rhinestone to the bottom of each cage and a little piece of marina ribbon to the top with a glue dot. I cut some leaves out of old olive and the little leaves die using my Big Shot. I punched some flowers with the flower from itty bitty shapes punches. I added a pearl to each flower. The words are from petite pairs. Are you using your Big Shot? What are you waiting for???
Love and Sympathy
Simple but beautiful! I used very vanilla, pear pizzazz, and regal rose. It works best to stamp the words first (early espresso ink), then the flower. I used markers and colored on the rubber. The background layer is texturized using the lattice embossing folder and my Big Shot. I did use dimensionals to pop up the flower layer. The dimensionals stick to the embossed paper much better than SNAIL.
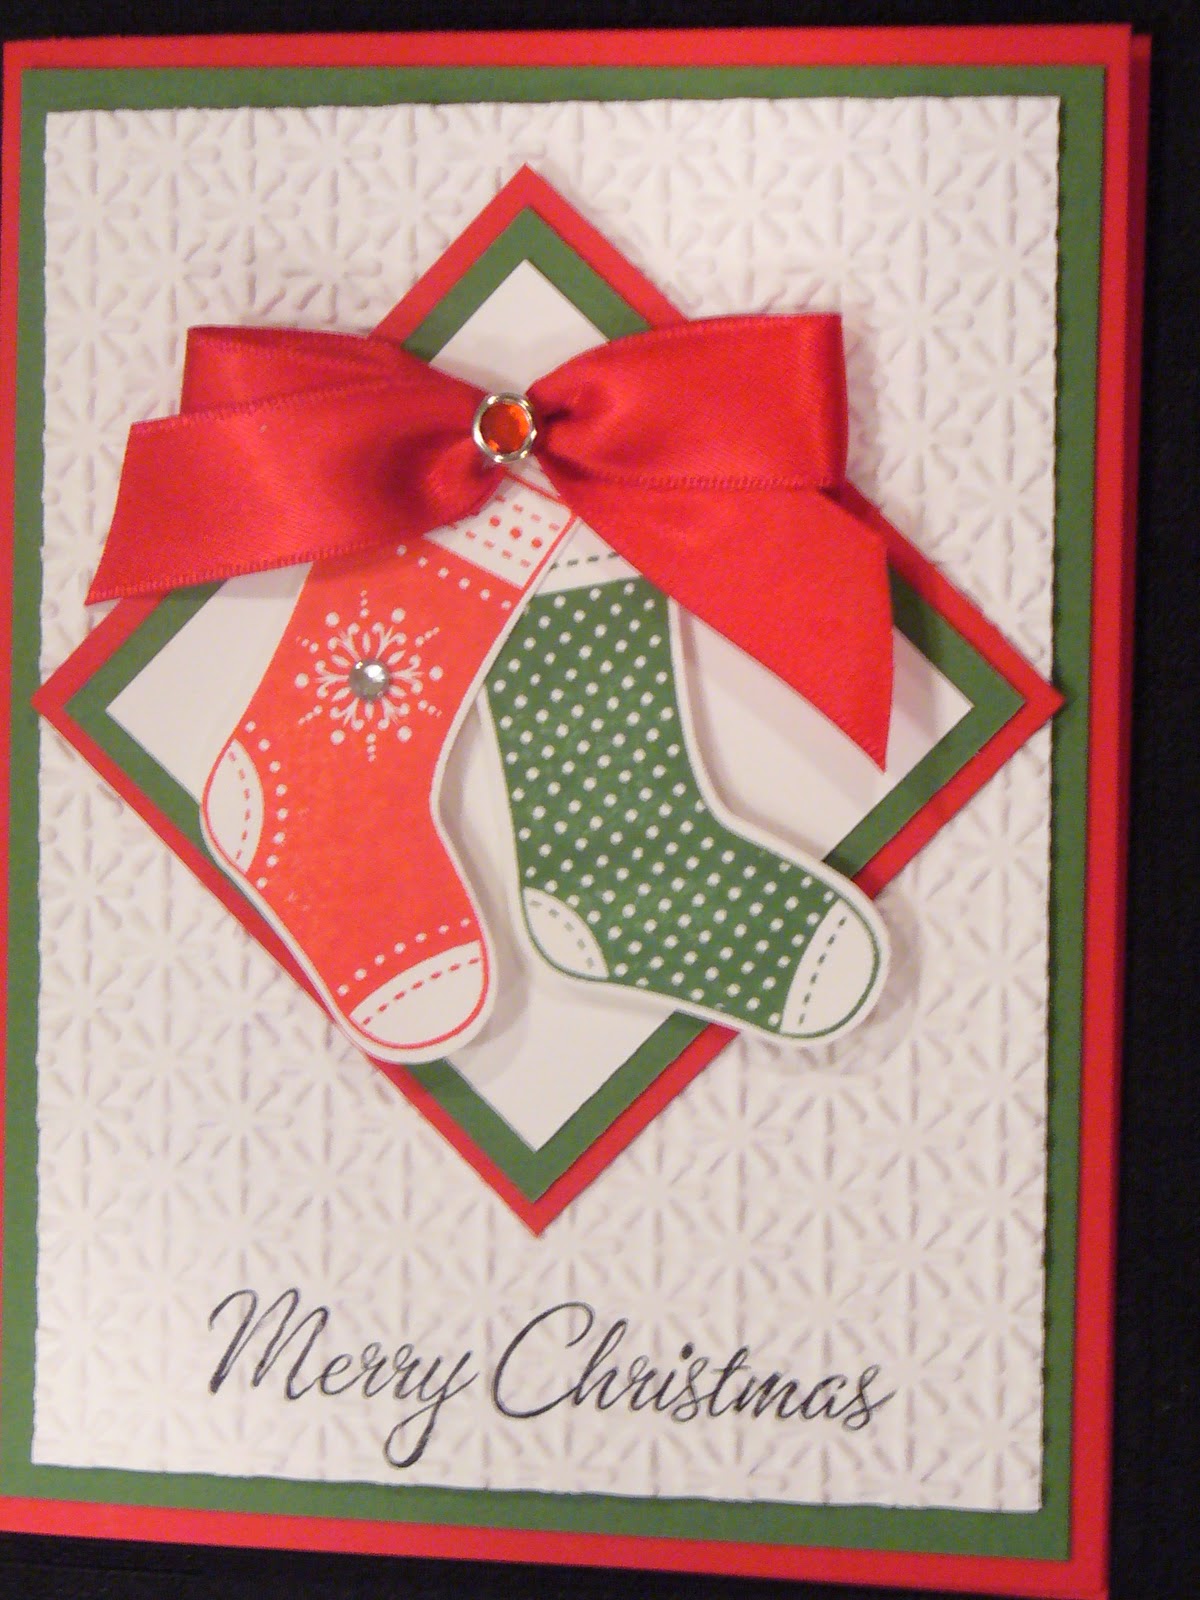
Friday, November 11, 2011
Stitched Stocking
Christmas is in the air! I made this using a new set in the Holiday mini catalog called Stitched Stockings. It is really great because it has a matching punch so you don't have to cut out the stockings. The backgrounds is textured using the new embossing folder called Snow Burst and the Big Shot. Merry Christmas is from Four the Holidays. I used real red, garden green, and whisper white. The red satin bow has a fire circle brad on it. The red stocking has a rhinestone. The stockings are popped up on dimensionals. Wouldn't this be great for you Christmas card this year?
Tuesday, November 1, 2011
Snowman Petal Cone Box
I think this is one of the cutest thing I have ever made. I love snowmen. Making one out of paper is about as close as I get to them because I live in the south. Not much snow in Memphis! I made his body out of the petal cone die. After I cut the two shapes out of whisper white I scored and cut 11/2 inches off the bottom. There are several videos on youtube on how to do this if you need a visual other than the one above. I flipped the box over to make his body. You can still put light weight treats inside. I sponged over all the edges in marina mist, added 2 marina mist paper buttons (Boho Blossom punch), and taped on some marina mist dotted ribbon. His head is a 21/2 circle punch with another half circle cut out of Just Add Cake striped paper for his hat. Then I sponged marina mist around that. I added a 23/4x1/4 band- corner rounded then sponged in marina mist. The ball on the hat is the largest flower from the Boho blossom punch, sponged. I tied a mini jingle bell on some white twine and attached it with a glue dot. His black eyes are punched from the small circle in the itty bitty shapes pack highlighted with a white gel pen. His pumpkin pie nose is a petal from the medium boho blossom punch cut out squiggly and sponged with pumpkin pie. I used a black marker to add his mouth (freehand), then I used a dauber to add the pretty in pink cheeks. I used red sticky tape to attach his head to his body.
Sunday, October 30, 2011
Snowflake Christmas Bag
I love the Top Note Die and my Big Shot. I also used the new Snow Burst embossing folder. Very cool!! This is a very quick little bag to make. I actually used a small white bag as the inside, I just cut it down to about 23/4 inches tall. You could make and assemble a small white box if you would rather. I used pool party and whisper white. I also used the pool party ruffled ribbon, a blue glimmer brad (subtles), Merry Christmas from Contempo Christmas, a corner rounder, black stazon, the small oval punch, and DAZZLING DETAILS to add just a touch of sparkle to the centers of a few random snowflake centers. Like I said, quick and easy!
Reindeer Box (Stocking Die)
Anyone can make a stocking out of a stocking die. The challenge is to see what else you do with it. I turned it upside down and cut out two in soft suede to create this darling reindeer box. The smaller stocking pieces became his ears. I did decorate both sides of the box. I cut a piece of Frostwood Lodge DSP for the bottom at 11/2x3/2 and added a strip of real red cardstock cut 3/4x31/2. I taped the suede to the back of the dsp about halfway up. I added a red satin bow with a fire circle brad on the front side only. His antlers are cut freehanded. I drew a pattern on a piece of typing paper that was 51/2x6. Then I cut out two in chocolate chip. I sponged his body, antlers, noses, ears, and reins with chocolate chip before assembling. I used the large scallop circle to make the reins, then I added some large rhinestones (punch one time on the edge of red cardstock making half a punch then punch above that punch again, cut to fit). His eye is a 1/2 black circle with highlights using a white gel pen. His nose is a 3/4 red circle. The box is 41/2x81/2, scored at 2, 4, 6, and 8. Then I turned it again and scored 3 inches from the top. I used my new SIMPLY SCORED SCORING TOOL. What a dream!! I cut the bottom flaps and assemble using red sticky tape. Attach both decorated heads to the box with red sticky tape. I added the patterns of the antlers and the box to help you out. I feel a class coming on!
Thank You!
Thank you all so much for the beautiful cards and uplifting emails during the past few months. For those of you that do not know, we lost our teenage daughter in August. Then I had emergency gall bladder surgery. We also just lost our brother in law. That is why I have not been posting. I have been having classes as I am trying to get back into the swing of things. I just finished making some cute Christmas things that I will begin posting. Again, thank you for the cards and emails. Most of all, thank you for keeping us in your prayers while we were going through all of this. We are okay, and will continue to heal with God's help.
Thursday, August 4, 2011
Creative Elements Gift Card Book and Box
Gift cards are so popular! Here’s another pretty way to package your gift cards to make them extra special! This project is also a quick and easy club or class project as well as a great item to sell at craft fairs!
This pretty project comes to you designed by Sharon!
Quilled Aster Flowers and Get Well Card
It’s amazing what we can create simply by rolling up a little Designer Series Paper. Quilling is a fun technique and these Quilled Aster Flowers are a fun and simple take on rolled paper. They’re also a great way to cheer up a sick friend. Paired with the whimsical "get well" card, they’ll brighten anyone’s day and last a LOT longer than real flowers!
Craft Project Central Guest Designer
I am a Craft Project Central Guest Designer for August!!!
Craft Project Central is a great blog where you can find great ideas for 3D Stampin' Up! projects. There are 11 projects per month, and you can get tutorials for them all for only $10! I have links right here for you or you can click on the designer blinkie on the bottom left.
I am excited about being featured as a Guest Designer this month. I'll be posting the other 10 projects on my blog as they are posted as well as my own. I hope you love them all.
Now it's time for some Blog Candy!!! I'm giving away a free subscription for August to one lucky follower! There are 3 ways to enter:
1. All you have to do is become a Follower of my blog and leave me a comment letting me know you've done so. My current followers can also enter just by leaving a comment.
2. If you have a blog of your own and you post the link to my blog you'll also get an extra entry. Just let me know where you posted the link.
3. If you place an order with me during August for $50 or more, you'll get THREE extra entries!!! This can be an on line order delivered straight to you (be sure to choose me as your demonstrator), or you can let me place the order for you if you live in the Memphis area and want to stop by and see my wonderful stamping room and some of the cards/projects we have made during classes while you are picking up your order.
Fabulous Florets Gift Cards
Need a Stampin' Up! gift card? Inside these cards are stamps, ink, ribbon, paper, and so much more. You can choose the amount you want to give to a special person. I will do the rest. The front can say happy birthday, thinking of you, thank you, whatever you need. Contact me for details. I'd be happy to contact someone on your behalf and let them know YOU want a gift card.
Sets: fabulous florets, petite pairs, other
Cardstock: whisper white, pear pizzazz, melon mambo, marina mist, daffodil delight
Ink: black stazon, pear pizzazz, melon mambo, marina mist, daffodil delight
Accessories: pear pizzazz seam binding, scallop circle punch, 13/8 circle punch, slit punch (retired), dimensionals
Subscribe to:
Posts (Atom)